Building a Real-Time Dashboard using React & Socket.io
Learn how to create a dynamic real-time dashboard using React and Socket.io. This guide covers real-time communication concepts, practical use cases, and a sample project idea.
Published
26 April 2026
Reading Time
2 min read
Author
Infotact Team
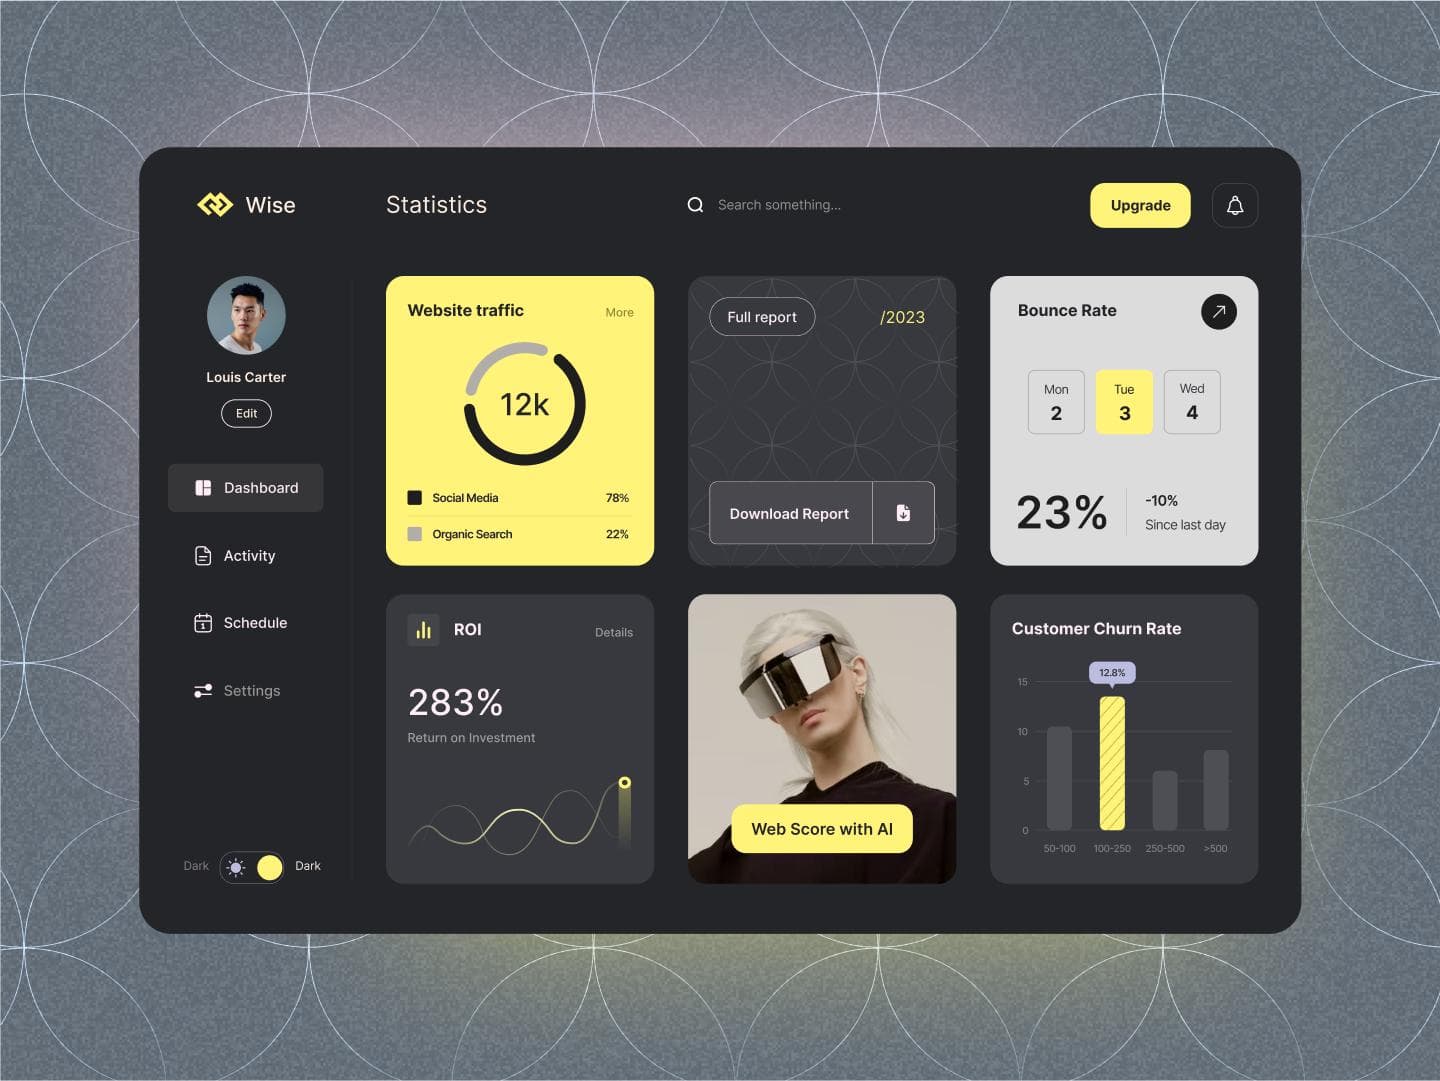
Building a Real-Time Dashboard using React & Socket.io
In today's data-driven world, having real-time insights can be a game changer. This article will guide you through the process of building a real-time dashboard using React and Socket.io, two powerful technologies that enable efficient real-time communication.
What is Real-Time Communication?
Real-time communication allows data to be transferred immediately as it is produced. Unlike traditional methods that require constant polling, real-time communication uses protocols such as WebSockets to establish a persistent connection between the client and server.
Understanding WebSockets
WebSockets are a protocol that facilitates two-way communication over a single, long-lived connection. They are particularly useful in applications where low latency and real-time data updates are crucial. Here are some key features of WebSockets:
- Full-duplex communication
- Reduced latency
- Efficient resource utilization
Use Cases for Real-Time Dashboards
Real-time dashboards can serve various purposes across different industries. Here are some common use cases:
- Tracking: Monitor user activity, sales, or transactions in real-time.
- Analytics: Visualize data trends and patterns as they happen.
- Notifications: Provide instant alerts for critical events or updates.
Sample Project Idea: Real-Time Sales Dashboard
Let's create a simple real-time sales dashboard that displays current sales data. We will use React for the front-end and Socket.io for real-time data updates from the server.
Step 1: Setting Up the Project
npx create-react-app real-time-dashboardStep 2: Installing Dependencies
npm install socket.io-clientStep 3: Implementing Socket.io
In your main component, you can set up the Socket.io client:
import { useEffect, useState } from 'react';
import io from 'socket.io-client';
const socket = io('http://localhost:4000');
const Dashboard = () => {
const [salesData, setSalesData] = useState([]);
useEffect(() => {
socket.on('salesUpdate', (data) => {
setSalesData((prevData) => [...prevData, data]);
});
}, []);
return (
Real-Time Sales Data
{salesData.map((sale, index) => (
- {sale}
))}
);
};
Conclusion
Building a real-time dashboard with React and Socket.io opens up numerous opportunities for enhancing user engagement and data visibility. Whether you're tracking sales, monitoring analytics, or providing real-time notifications, the possibilities are endless. Start creating your own dashboard today!
Call to Action
If you found this guide helpful, consider checking out our other articles on web development and real-time applications. Stay ahead in the tech world!
Highlights
- •Understand real-time communication with WebSockets
- •Explore use cases for analytics and tracking
- •Follow a step-by-step guide to build a sample project
Need similar implementation support?
Work with our engineering team on scalable web apps, backend architecture, and growth-ready product delivery.
Related Content
Keep reading similar insights
General
How to Build a File Upload System Using Multer and Node.js
Learn how to create a robust file upload system with Multer and Node.js. This guide covers everything from installation to error handling.
General
Redis Caching Explained for Beginners
Discover how Redis can enhance your application's performance through effective caching. This guide covers installation, integration, and strategies for optimal use.
General
Mastering Git and GitHub Workflow for Team Projects
Learn how to efficiently manage team projects using Git and GitHub. This guide covers everything from initializing repositories to best practices for collaboration.